Optimize your website's discoverability and search engine ranking by enabling and customizing the XML Sitemaps feature. Follow these step-by-step instructions to activate and configure your XML Sitemap.
Enable XML Sitemaps
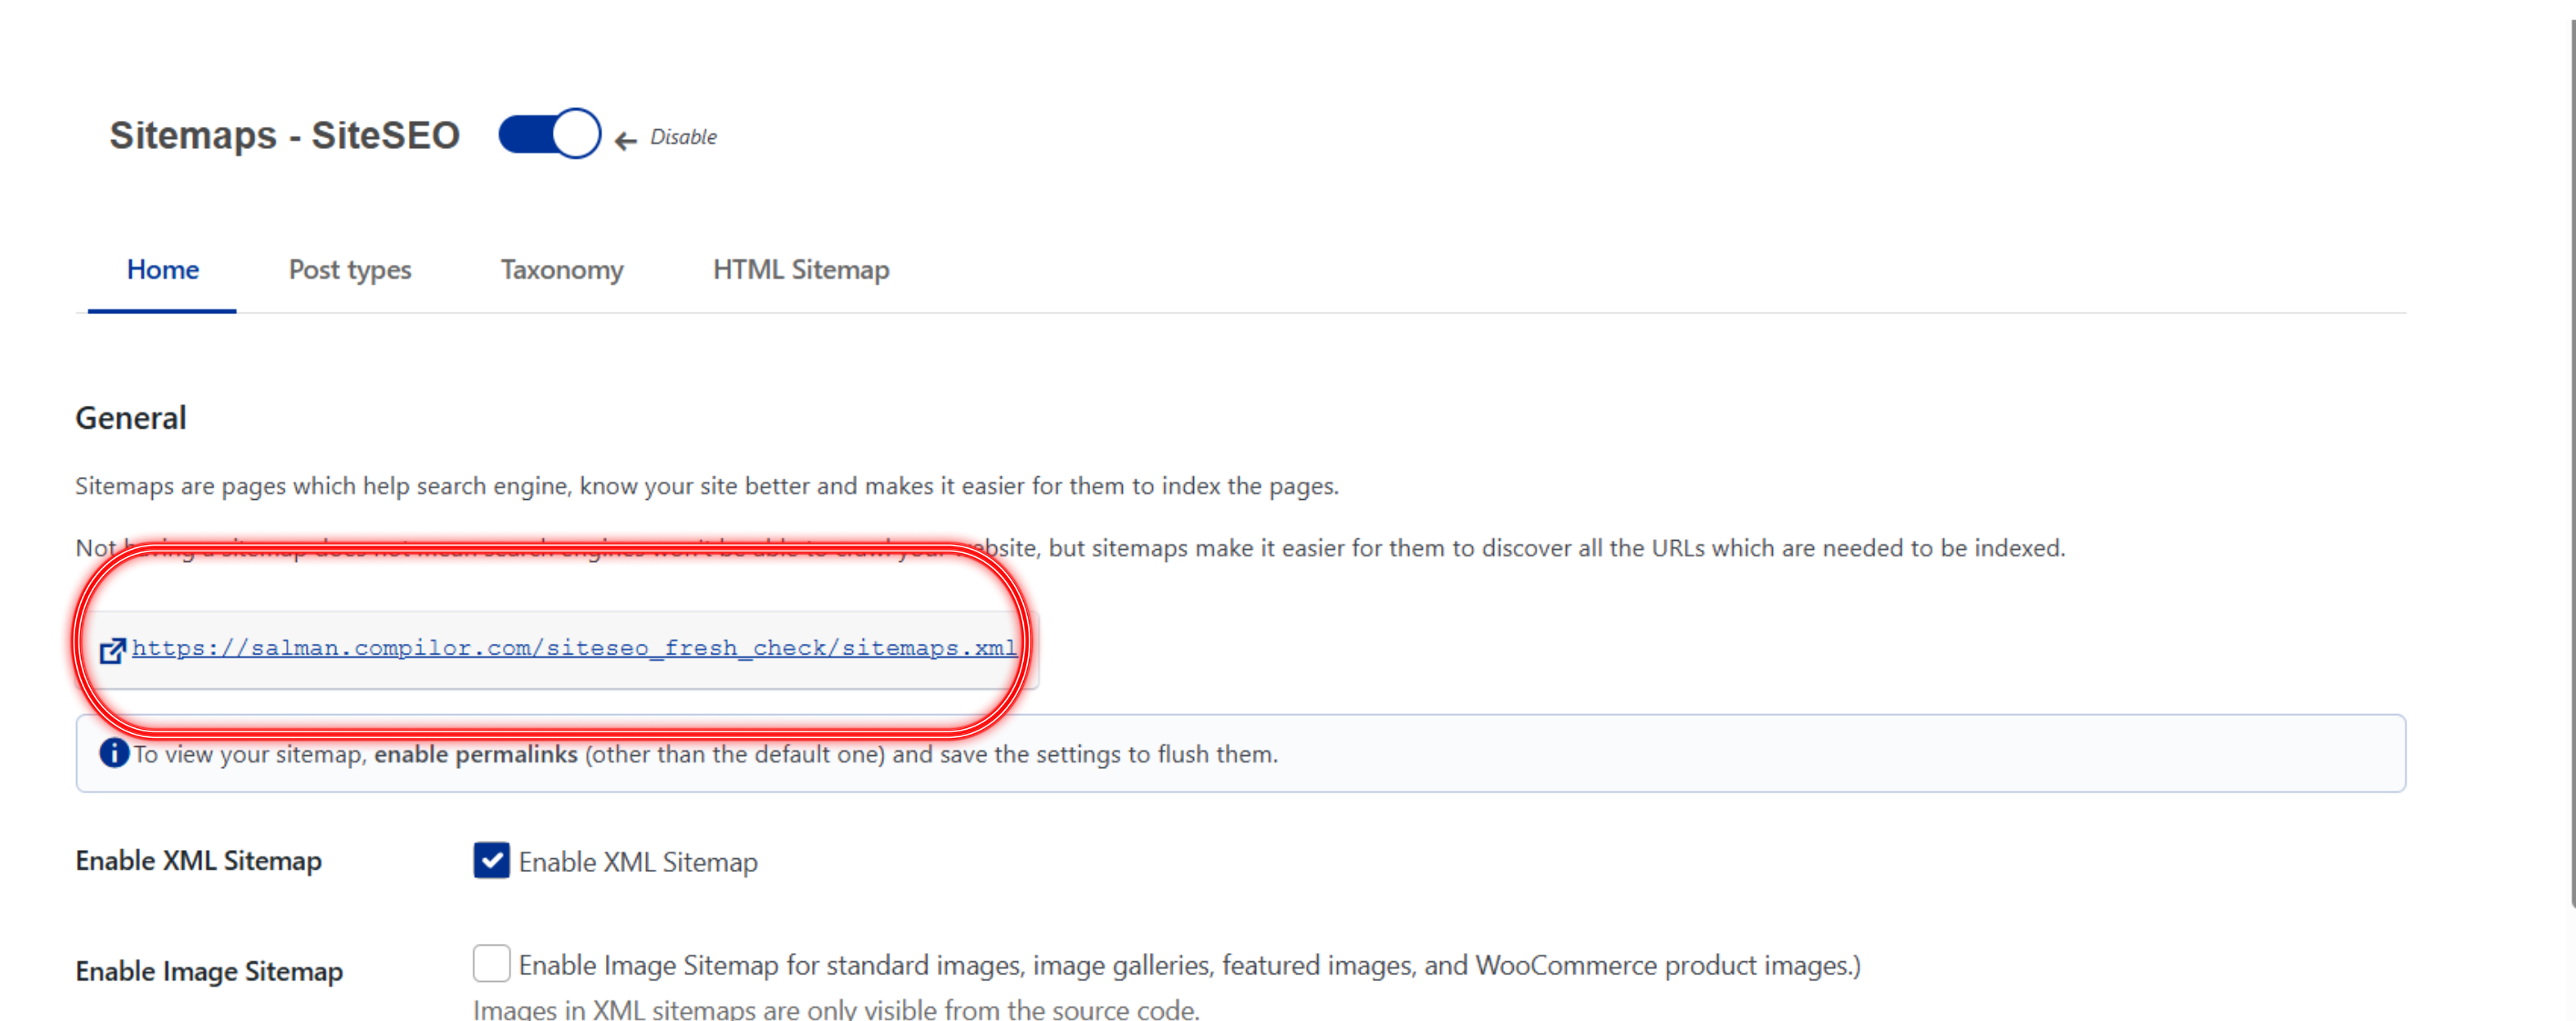
Go to the WordPress dashboard and Navigate to the SiteSEO -> Sitemaps.
Enable the 'Sitemaps - SiteSEO' feature if it's not already enabled.
Enable the 'Enable XML Sitemap' option.
Save the settings.
Configure XML Sitemap
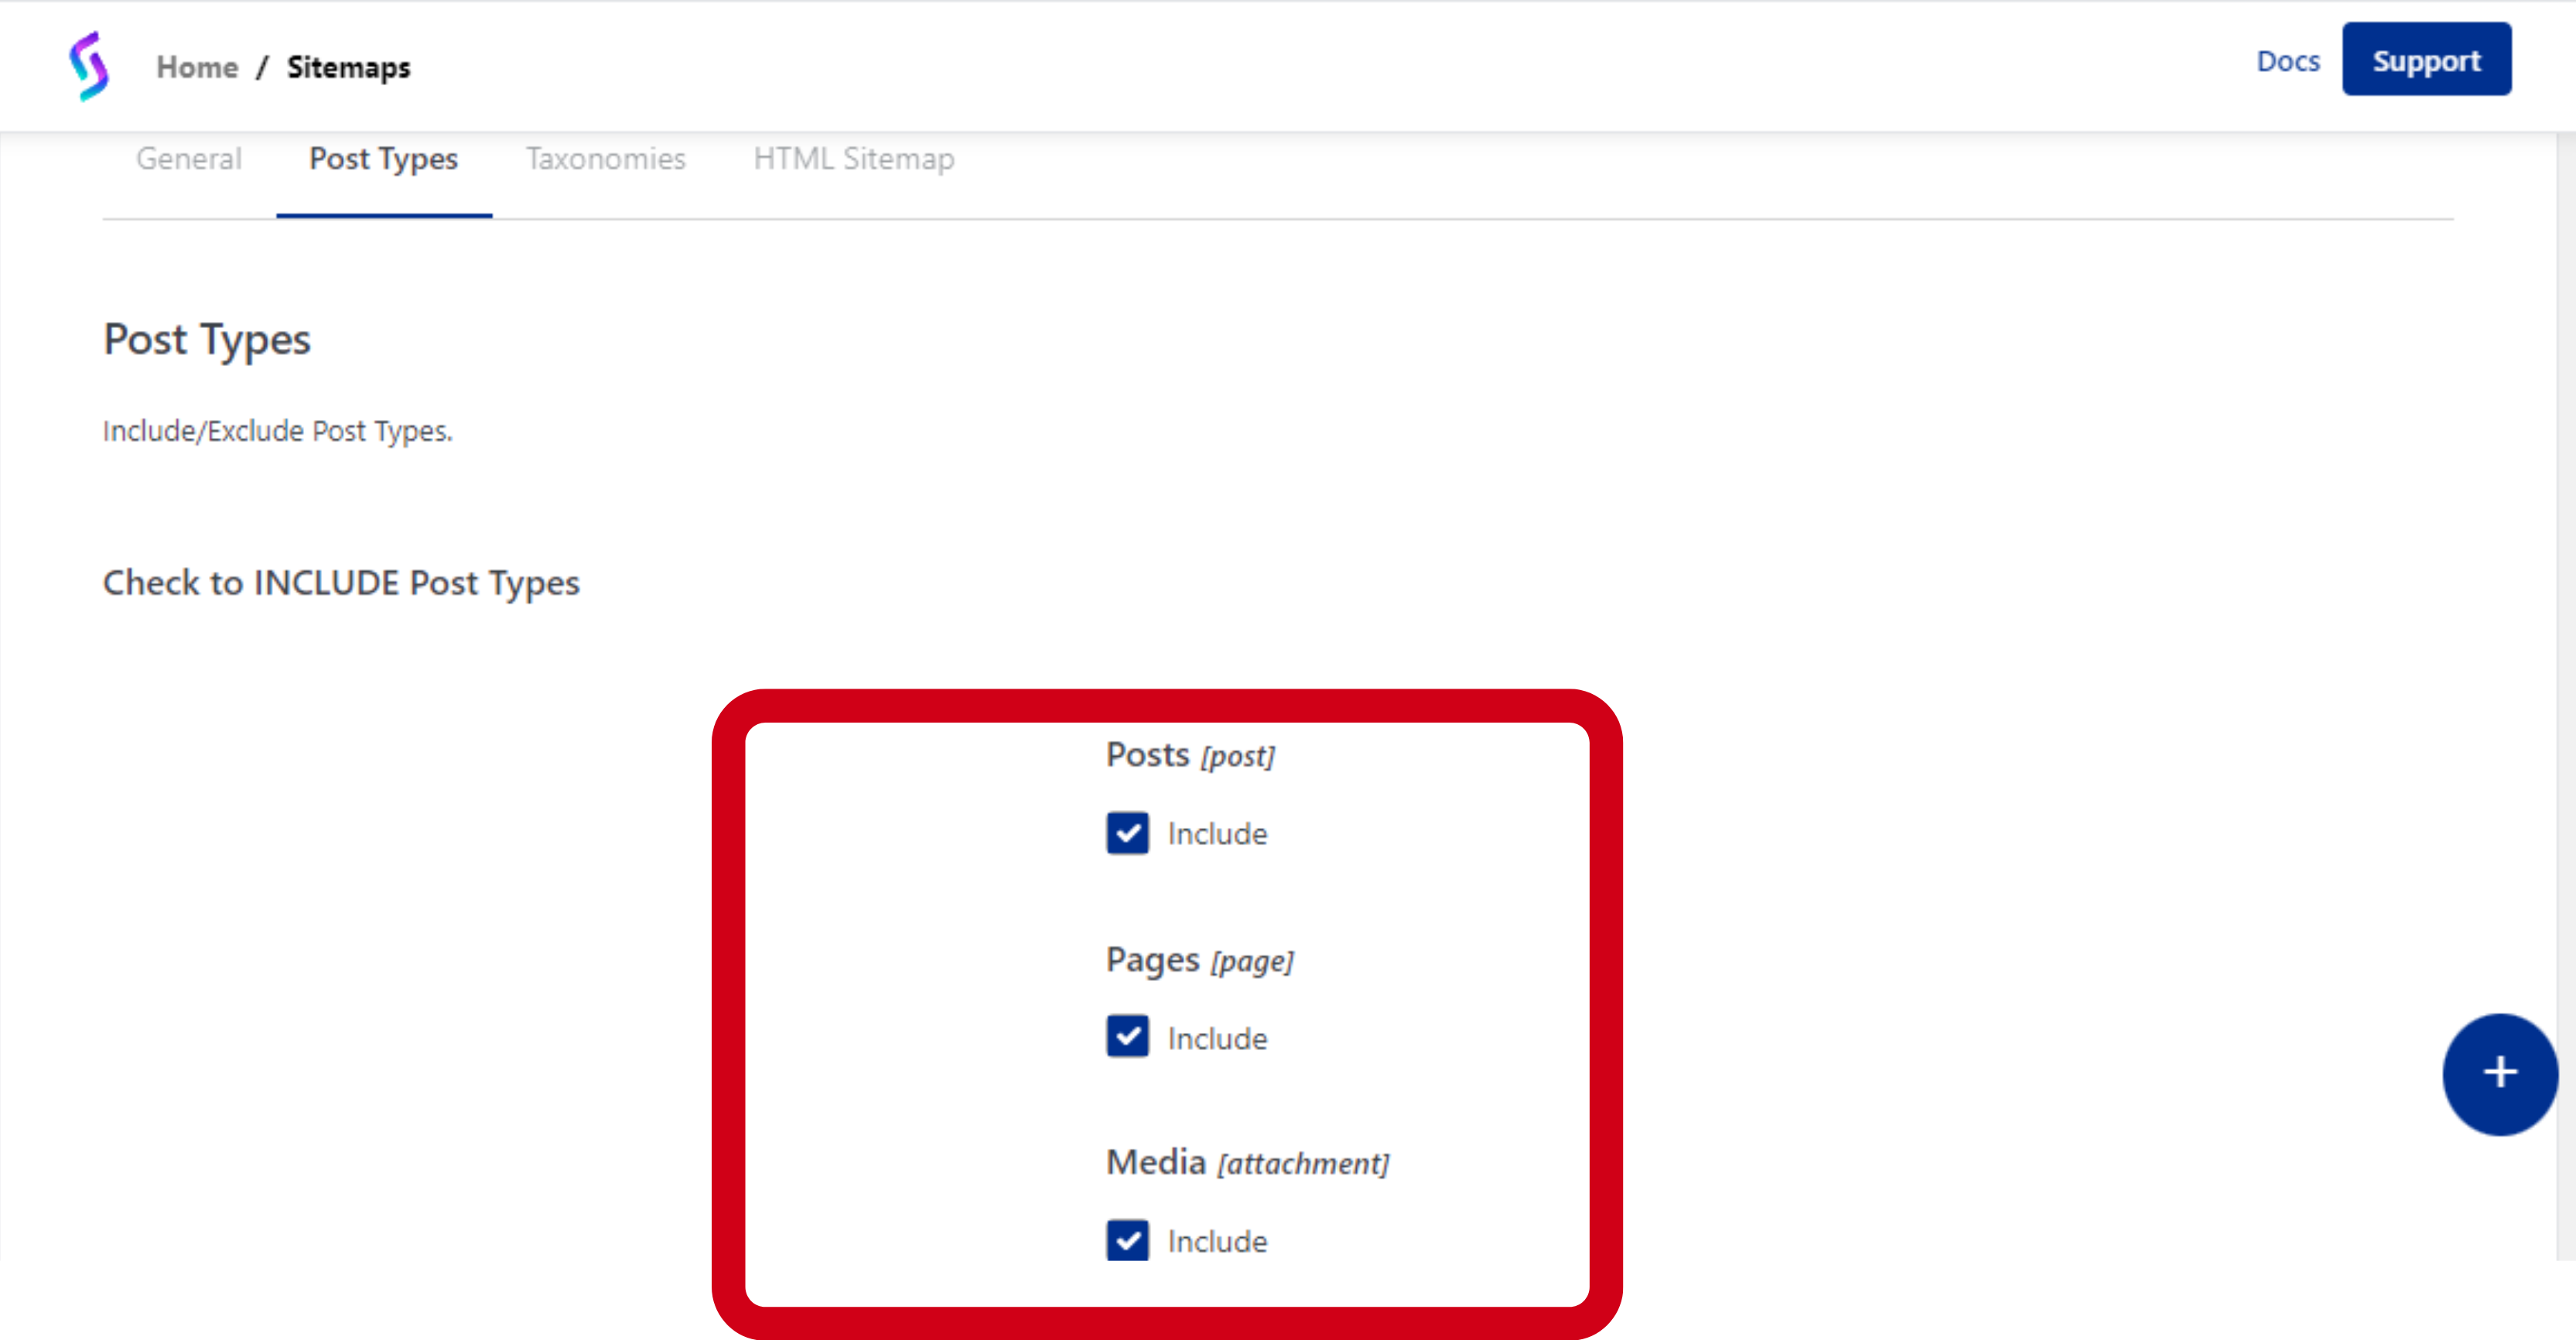
By default, your XML Sitemap includes posts, pages, products, post categories, and post tags (if available). However, you can customize what appears in your sitemap by navigating to the "Post Types" and "Taxonomies" tabs.
Post Types Tab
In the Post Types tab, you can specify the post types you want to include in your XML sitemap.
Taxonomies Tab
In the Taxonomies tab, you can specify the taxonomies you want to include in your XML sitemap.
Viewing XML Sitemap
In the general section, you will see the link. Just click on it to see your sitemap.
Alternatively, you can view the XML sitemaps by typing 'https://example.com/sitemaps.xml/' directly in your browser's address bar.